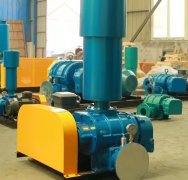
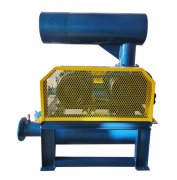
The cleaning steps for the inlet filter of the Roots blower are as follows:
1. Turn off the power: Firstly, it is necessary to turn off the power of the Roots blower host to ensure proper operation.
2. Dismantling the filter screen: Remove the connectors on the inlet pipeline, take off the filter screen, and prepare for cleaning.
3. Preliminary cleaning:
If the surface of the filter screen is not very dirty, it can be blown with clean compressed air on both sides until no dust particles are visible under light.
If the surface of the filter is already very dirty, it needs to be washed with water. At this point, you can choose some specialized cleaning agents and soak the filter screen. Usually, it takes a few minutes for the dirt to dissolve and loosen.
4. Rinse again: Rinse the filter screen soaked in cleaning agent with clean water again to remove any remaining dirt and cleaning agent.
5. Drying the filter screen: Place the washed filter screen in a well ventilated place to dry naturally, avoiding direct sunlight or using a hair dryer to accelerate drying, so as not to affect the normal operation of the fan.
6. Inspection and replacement: When cleaning impurities, pay attention to protecting the wire mesh on the filter plate to prevent deformation or damage. If the stainless steel wire on the filter mesh is deformed or damaged after cleaning, or if the filter cotton cannot achieve the filtering effect after washing with water, it is necessary to replace the filter element with a new one in a timely manner.
7. Reinstall: Reinstall the dried filter screen back into the Roots blower according to the disassembly steps, ensuring that it is installed properly.
In addition, in order to maintain the cleanliness and normal operation of the Roots blower system, it is recommended to clean the air filter screen every half month and develop the habit of maintaining the filter screen correctly.


