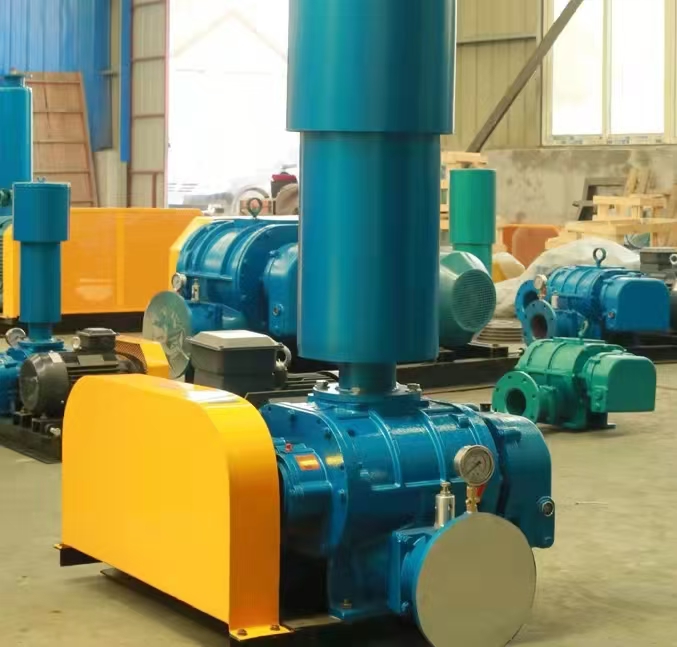
The following are the disassembly steps and precautions for the Three Leaf Roots blower for reference:
---

**1、 Preparation work**
1. * * Power off and isolate**
-Cut off the power, hang a warning sign, and ensure that the equipment stops running.
2. * * Pressure relief and emptying**
-Close the inlet and outlet valves, and empty the gas or liquid in the pipeline and casing.
3. * * Tool preparation**
-Prepare tools such as wrench, puller, copper rod, rubber hammer, vernier caliper, marker pen, etc.
4. * * Clean the surface**
-Clean the external oil and dust of the fan to prevent impurities from entering the interior.
---
**2、 Disassembly steps**
**1. Dismantle accessory components**
-Remove the flange bolts from the inlet and outlet, and move the connecting pipeline away.
-Dismantle the cables of instruments such as pressure gauges and temperature sensors.
-Drain the lubricating oil from the gearbox and remove the oil pipeline.
**2. Separate motor and fan**
-Mark the alignment position of the motor and fan coupling (for easy reinstallation).
-Loosen the coupling bolts and move the motor away.
**3. Disassemble the gearbox (synchronous gear)**
-Remove the bolts from the gearbox end cover and check the gear meshing markings (if there are no markings, they need to be marked by oneself).
-Use a puller or top screw to remove the gear, paying attention to protecting the keyway and shaft neck.
**4. Remove the shell bolts**
-Loosen the shell connection bolts in diagonal order to avoid stress concentration.
**5. Separate the left and right wall panels from the casing**
-Gently tap the edge of the wall panel (using a rubber hammer or copper rod) to gradually separate the shell.
-Pay attention to whether the sealing gasket is adhered to avoid damage.
**6. Remove the rotor**
-When lifting out the rotor, keep it level and avoid colliding with the impeller or casing.
-Check the axial clearance of the rotor and record it (for reference during reassembly).
**7. Dismantling bearings**
-Use a bearing puller to remove the bearing and check for wear.
-Keep the bearing positioning gasket and record the quantity and thickness.
---
**3、 Precautions**
1. * * Marking and Recording**
-Mark the position of all removed components (such as gears, washers, bolts) and record the clearance data.
2. * * Protect the sealing surface**
-Avoid scratching the mating surface and shaft seal of the casing.
3. * * Check for wear and tear**
-Focus on checking the impeller meshing clearance, bearing clearance, and gear tooth surface wear.
4. * * Operation**
-Heavy components such as rotors require the use of lifting equipment to ensure stability.
---
**4、 Common problem handling**
-* * Difficult to disassemble gears * *: Can heat the gear hub (not exceeding 120 ℃) to assist in pulling out.
-* * Bearing stuck * *: Avoid violent strikes and use specialized tools.
-Damaged sealing gasket: Clean the remaining gasket and apply sealant when replacing the new part.
---
**5、 Key points for reinstallation**
1. Assemble in reverse order to ensure that the gear meshing marks are aligned.
2. Use a torque wrench to tighten the bolts to the standard torque.
3. After reinstallation, manually turn the rotor and check if it is flexible and not stuck.
It is recommended to refer to the manufacturer's manual or contact professional technicians for guidance to ensure proper operation.


