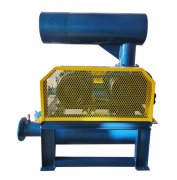
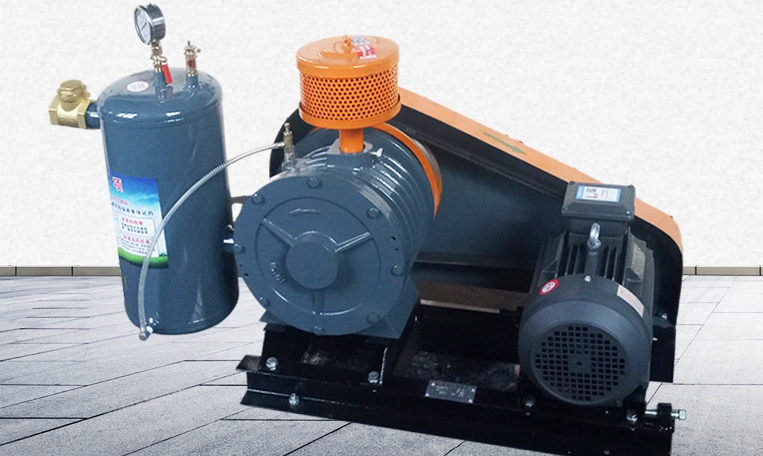
Disassembling the rotary Roots blower should be carried out according to standard procedures to avoid damaging key components such as rotors, gears, bearings, etc. The following is a detailed disassembly process and precautions:
---
**1、 Preparation before disassembly**
1. * * Measures**
-Cut off the power and lock (LOTO) to ensure that the fan stops.
-Close the inlet and outlet valves and exhaust the gas in the pipeline (if there are corrosive or flammable gases, they need to be purified).
-Release the belt tension (if it is a belt drive) or disconnect the coupling.
2. * * Tool preparation**
-Common tools: wrench, screwdriver, puller (bearing remover), copper rod, rubber hammer.
-Special tool: Synchronous gear positioning pin disassembly tool (some brands require customization).
-Measuring tools: dial gauge (used to check rotor clearance), feeler gauge.
3. * * Mark alignment**
-Mark the relative positions of the gears, end caps, and housing with a marker pen (to avoid misalignment during reassembly).
-Take photos to record pipeline connections and wire routing (for complex systems, it is recommended to draw a schematic diagram).
---
**2、 Disassembly steps (taking a common horizontal Roots blower as an example)**
**1. Dismantle accessory components**
-Remove the muffler, inlet and outlet soft connections, pressure gauge, oil pipe and other peripheral accessories.
-Remove the fixing bolts of the motor and move the motor or pulley away.
**2. Separate the shell**
-Remove the bolts from the gearbox end cover and check for locating pins (which need to be removed before separation).
-Loosen the connecting bolts between the cylinder and the end cap, and use a top screw to evenly lift the end cap (avoiding violent prying).
**3. Remove the rotor**
-Priority on synchronous gear side:
1. Loosen the gear fixing nut and use a puller to pull out the gear (pay attention to protecting the keyway).
2. Gently push the rotor shaft and slide it out of the cylinder (wooden blocks can be used to prevent damage to the shaft end).
-* * Key Tip * *:
-The dual rotors need to be synchronously translated and removed to avoid colliding with the impeller!
-If the rotor gets stuck, a copper rod can be used to lightly tap the shaft end (direct tapping of the impeller is prohibited).
**4. Dismantling bearings and seals**
-Use a puller to remove the bearing (heating the inner ring to 80-100 ℃ can assist in disassembly).
-Check the status of the mechanical seal/oil seal and record the wear condition (pay attention to the installation direction when replacement is needed).
---
**3、 Key precautions**
1. * * Rotor and gap protection**
-The core accuracy of Roots blower lies in the clearance between rotors and between rotors and cylinder body (usually 0.1~0.4mm). Collisions during disassembly may cause uneven gaps, and should be handled with care throughout the entire process.
2. * * Synchronous gear processing**
-The gear meshing position has been precisely calibrated before leaving the factory, and the original pairing must be retained after disassembly (mixing is prohibited).
-Some models have positioning pins on their gears, which need to be removed before pulling out the gears.
3. * * Cleaning and Inspection**
-Clean the oil stains on the surface of the shell and rotor with kerosene or specialized cleaning agents.
-Key inspection:
-Is there any scratch or deformation on the rotor.
-Gear tooth surface wear and bearing clearance.
-The degree of aging of the sealing components.
---
**4、 Common problems and solutions**
-* * Gears are difficult to disassemble * *:
-Soak in penetrating oil (such as WD-40) before attempting, or locally heat the gear (not exceeding 120 ℃).
-Bearing rust death:
-Using hydraulic puller to avoid hard damage to the shaft neck.
-Sealing leakage:
-When replacing, it is necessary to use original materials (such as fluororubber corrosion-resistant, graphite sealed high-temperature resistant).
---
**5、 Restoration suggestions**
Before assembly, ensure that all components are clean and dry, and apply lubricating grease to bearings and gears.
2. * * Gap Adjustment * *:
-Measure the clearance between rotors and between rotors and shells with a feeler gauge, and adjust according to the manufacturer's manual (if there is no data, pre adjust according to 0.15~0.3mm).
3. Manual turning test: After reinstalling, manually rotate the spindle to confirm that there is no jamming or abnormal noise, and then power on for trial operation.
---
**Attachment: Typical Roots blower structure diagram**
```
[Motor] → [Coupling/Belt] → [Gearbox] → [Active Rotor] [Passive Rotor]
↑
[Cylinder housing]
```
If you need a specific disassembly manual or clearance standard for a particular model, you can provide further assistance with the fan brand/model!