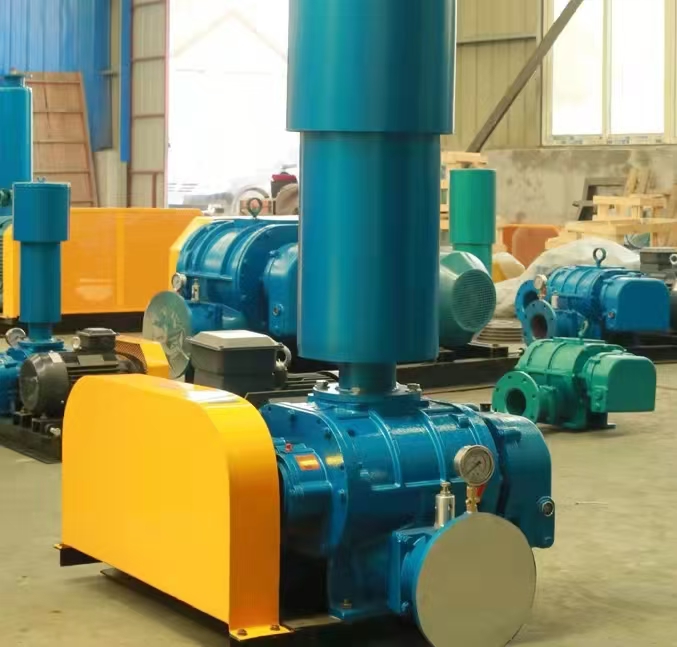
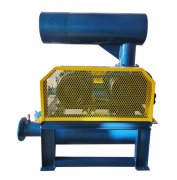
Repairing Roots fans requires following a systematic process, including fault diagnosis, disassembly and cleaning, component replacement and repair, reassembly and testing, while also paying attention to operating standards and procedures. The following are detailed repair steps and precautions:
1、 Fault diagnosis
1. Preliminary inspection
Observe the operation status of the fan and record any abnormal phenomena such as noise, vibration, temperature, etc.
Check whether the lubricating oil level, oil quality, and cooling system are normal.
Check if the import and export pipelines are blocked and if the valves are open.
2. In depth testing
Use a vibration analyzer to detect the vibration frequency of components such as bearings and gears.
Monitor the temperature of bearings, casings, and other parts through temperature sensors.
Check the insulation performance of the electrical system, including motors, cables, and control cabinets.
3. Fault location
Based on the test results, determine the fault location (such as bearing wear, poor gear meshing, rotor imbalance, etc.).
Refer to the equipment manual or maintenance manual to analyze the cause of the malfunction.
2、 Dismantling and Cleaning
1. Dismantling preparation
Cut off the power, hang a warning sign, and ensure that the equipment stops running.
Drain lubricating oil and coolant, clean external oil stains and dust.
2. Gradually dismantle
Dismantle transmission components such as couplings and belts.
Disassemble the fan casing, pay attention to marking the positions of each component for ease of subsequent assembly.
Remove core components such as rotors, gears, and bearings to avoid damaging the sealing surfaces.
3. Cleaning and inspection
Use cleaning agents to clean all components and remove impurities such as oil stains and carbon deposits.
Check the surface of the rotor for wear, cracks, or corrosion.
Check whether the gear meshing surface is worn and whether the tooth top clearance meets the standards.
Check whether there is wear, pitting or peeling on the inner and outer rings and rolling elements of the bearing.
3、 Component replacement and repair
1. Bearing replacement
Select high-precision bearings that match the prototype number (such as SKF, NSK, etc.).
Pay attention to the bearing clearance during installation, and control it within the range of 0.05~0.10mm.
Use specialized tools to press fit bearings and avoid direct tapping.
2. Gear repair
When the gear backlash exceeds 0.18mm, it needs to be replaced.
Adjust the gear meshing contact area to ensure it is ≥ 75.
After installing the gear, check that the clearance between the dividing blades is ≥ 0.15mm and the clearance between the closing blades is ≥ 0.30mm.
3. Rotor repair
When the rotor is severely worn, it can be repaired by welding and machining.
Calibrate the rotor dynamic balance to ensure that the vibration value is ≤ 4.5mm/s.
Check the clearance between the rotor and the casing, and control the total clearance within 0.2~0.4mm.
4. Seal replacement
Replace worn oil seals and air seals to ensure sealing performance.
Apply an appropriate amount of lubricating grease during installation to avoid dry friction.
4、 Reassembly and testing
1. Assembly steps
Assemble each component in the reverse order of disassembly, paying attention to the cleanliness of the sealing surface.
Adjust the gear clearance to 0.10~0.18mm, ensuring that the taper fitting contact area is ≥ 75.
Tighten the anchor bolts using a torque wrench according to specifications.
2. Lubrication system inspection
Replace the lubricating oil with ISO VG 68 anti-wear hydraulic oil.
Check if the oil circuit is unobstructed and keep the oil level at the centerline of the window.
3. Trial operation
Run without load for 2 hours and check if the temperature, vibration, and noise are normal.
Gradually load to rated pressure and monitor parameters such as current and oil temperature.
After 24 hours of operation, check for any leaks or abnormalities in each component.
5、 Precautions
1. Operation
Wear protective gloves, goggles, and other protective equipment during disassembly.
Avoid using flammable cleaning agents to prevent fires or explosions.
2. Precision control
Use a feeler gauge and lead wire method to detect gaps and ensure accuracy meets standards.
When calibrating dynamic balance, the rotor speed needs to reach the rated value.
3. Spare parts management
Reserve commonly used spare parts (such as bearings, gears, oil seals) and regularly check their expiration dates.
When replacing spare parts, priority should be given to using original parts or products of equivalent quality.
4. Record maintenance
Establish maintenance records to document fault symptoms, repair processes, and replacement parts.
Regularly check the quality of lubricating oil, and replace it if the moisture content is greater than 0.1.
6、 Suggestions for maintenance after repair
1. Daily inspection
Check bearing temperature, oil level, current and other parameters daily.
Clean the air filter to prevent blockage.
2. Regular maintenance
Clean the air filter every 2000 hours and replace the lubricating oil every 5000 hours.
Check the wear of gears and bearings annually, and adjust the clearances between various components.
3. Environmental management
Keep the working environment of the fan clean and prevent dust and debris from entering.
Ensure good ventilation and reduce inlet temperature.
By following the above steps, common faults of Roots fans can be effectively repaired, equipment lifespan can be extended, and unplanned downtime rates can be reduced. In case of complex faults, it is recommended to contact professional technical personnel for handling.


