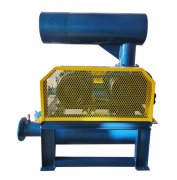
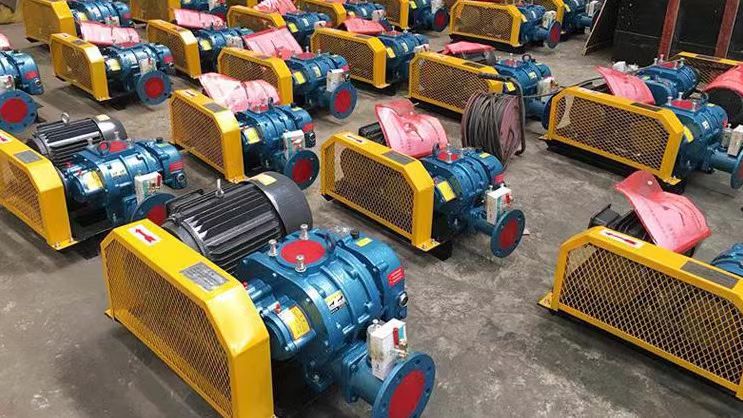
**Rotary fan maintenance tutorial (taking Roots/screw type as an example)**
The maintenance of rotary fans (such as Roots fans and screw fans) must strictly follow the steps to ensure the accuracy of core components (rotor, gear, seal). The following is the detailed repair process:
---
**1、 Preparation before maintenance**
1. * * Measures**
-Power off and lock (LOTO), release pipeline pressure.
-Wear protective gloves and goggles (to prevent oil/metal debris injuries).
2. * * Tool List**
-* * Basic tools * *: wrench, screwdriver, rubber hammer, puller (bearing remover).
-* * Measuring tools * *: dial gauge (for measuring radial runout), feeler gauge (for measuring clearance), micrometer.
-Consumables: Sealing glue (Loctite 587), lubricating grease (ISO VG220), replacement sealing ring.
---
**2、 Disassembly steps**
1. * * Dismantle peripheral components**
-Remove the muffler, inlet and outlet hoses, pressure sensor and other accessories.
-Empty the gearbox lubricating oil (use a container to collect waste oil).
2. * * Separate drive end**
-Dismantle the coupling/pulley: mark the alignment position, loosen the bolt and gently tap to remove it.
-Attention: The belt drive needs to loosen the motor base adjustment bolt first.
3. Disassemble the shell**
-Loosen the end cap bolts and use a top screw to evenly pry open (avoid using brute force to pry).
-Record the meshing marks of the rotor and gear (take photos or draw lines).
4. * * Remove the rotor**
-Priority on synchronous gear side:
1. Remove the gear locating pin and use a puller to remove the gear.
2. Pull out the rotor horizontally (with a soft cloth pad to prevent scratches).
-* * Dual rotor model * *: must move synchronously to avoid collisions!
---
**3、 Key component inspection and maintenance**
|* * Component * * | * * Inspection Items * * | * * Maintenance Methods * *|
|----------------|----------------------------|------------------------------------------|
|* * Rotor * * | Impeller wear, deformation, cracks | Slight wear can be polished, severe deformation needs to be replaced|
|* * Synchronous gear * * | Tooth surface pitting, tooth breakage, meshing clearance | Clearance>0.2mm or tooth breakage needs to be replaced (must be replaced in pairs)|
|* * Bearing * * | Clearance, abnormal noise, rust | If clearance exceeds the standard (>0.1mm) or gets stuck, replace it|
|* * Seals * * | Oil seals/mechanical seals aging and leaking | Replace all with new ones (pay attention to installation direction)|
|Shell * * | Scratches and cavitation on the inner wall | Precision machining after welding repair (replacement of shell for severe damage)|
---
**4、 Reinstall and debug**
1. Assembly sequence**
-Clean all components → Install bearings → Reinstall rotors → Fix gears (align according to original markings) → Seal end caps.
2. * * Gap adjustment**
-Roots blower: Use a feeler gauge to measure the clearance between rotors and between rotors and shells (standard 0.10-0.25mm).
-Screw fan: The clearance between the male and female screws needs to be tested with a special plug gauge (refer to the manufacturer's manual).
3. * * Sealing treatment**
-Apply sealant (Loctite 587) to the end cap and tighten the bolts diagonally in multiple steps to prevent deformation.
4. Lubrication and filling**
-Add ISO VG220 lubricating oil to the gearbox to the centerline of the oil window.
-Fill the bearings with high-temperature lubricating grease (such as SKF LGHP2).
---
**5、 Trial operation and acceptance**
1. * * Manual testing**
-Turn the car 2-3 times and confirm that there are no blockages or abnormal noises.
2. * * No load operation**
-Tap to start and check the steering (consistent with the arrow on the shell), run for 10 minutes to monitor:
-Vibration: ≤ 4.5mm/s (using a vibration meter).
-Bearing temperature: ≤ 70 ℃ (infrared thermometer).
-* * Noise * *: No metal friction sound.
3. * * Load testing**
-Gradually increase the pressure to the rated value and check whether the current exceeds the standard and whether the pipeline leaks.
---
**6、 Common fault handling**
|* * Fault phenomenon * * | * * Possible cause * * | * * Solution * *|
|------------------|--------------------------|----------------------------------|
|* * High vibration * * | Unbalanced rotor/damaged bearings | Perform dynamic balancing or replace bearings|
|Insufficient exhaust pressure | Excessive clearance/seal leakage | Adjust clearance or replace seal|
|* * Gearbox abnormal noise * * | Gear wear/insufficient lubrication | Replace gears or replenish oil|
|Overheating | Overpressure/Poor cooling | Check system resistance and clean radiator|
---
**7、 Precautions**
1. * * Reverse rotation is strictly prohibited * *: Reverse rotation of Roots/screw fans can instantly damage the rotor.
2. * * Gap key * *: If the rotor gap deviation is greater than 0.05mm, it needs to be readjusted.
3. * * Sealing direction * *: The oil seal lip is facing towards the lubrication side (reverse installation may cause leakage).
---
**Attachment: Checklist for After Repair**
-[] Turn correctly
-[] Each bolt torque meets the standard (refer to manufacturer data)
-The lubrication system has no leaks
-[] The load operating current is normal
Following this tutorial can ensure the quality of maintenance. If encountering complex problems (such as rotor dynamic balance correction), it is recommended to contact a professional service provider!