

Assembly of Roots blower
As a widely used equipment in the industrial field, the assembly quality of Roots blower directly affects its operating effect and service life. Understanding the assembly steps and precautions of Roots blowers is of great significance for ensuring the stable operation of the equipment.
1. Basic concept of Roots blower
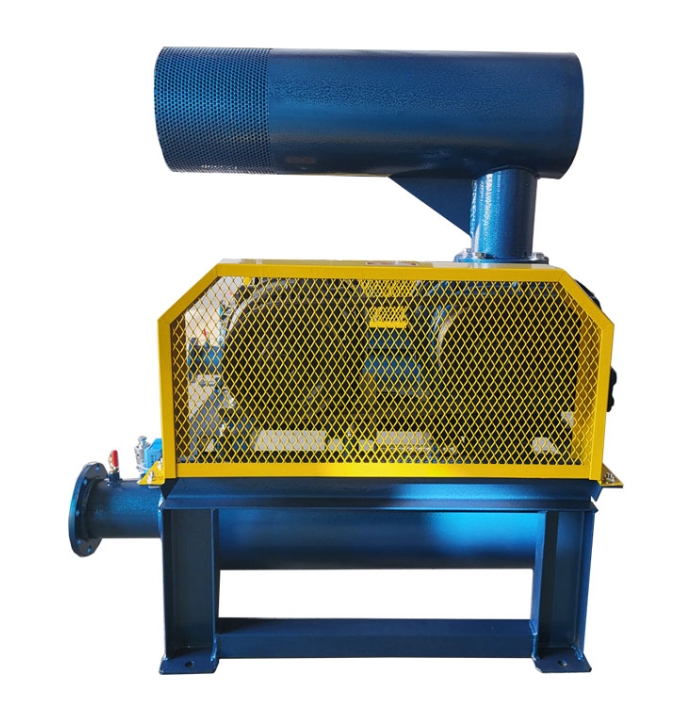
Roots blower is a type of positive displacement fan that rotates inside the casing through two interlocked rotors, sucking in gas from the inlet and compressing it before discharging it. Due to its simple structure and stable operation, Roots blowers have been widely used in fields such as sewage treatment, pneumatic conveying, and aquaculture.
2. Steps for assembling Roots blower
The assembly steps of Roots blower mainly include the following aspects:
2.1 Preparation work
Before assembling the Roots blower, it is necessary to prepare the necessary tools and materials, including wrenches, screwdrivers, lubricants, gaskets, etc. At the same time, check if all components are complete and if there is any damage.
2.2 Installing the casing
Install the casing of the Roots blower onto the base, ensuring a secure connection between the casing and the base. Use a spirit level to check the levelness of the casing and adjust it if necessary.
2.3 Installing the rotor
Install the rotor inside the casing to ensure even clearance between the rotor and the casing. Use a micrometer to check the gap between the rotor and the casing, and adjust it if necessary.
2.4 Installing bearings
Install the bearing on the rotor to ensure a good fit between the bearing and the rotor. Lubricate the bearings with lubricating oil to ensure their flexible operation.
2.5 Installation of sealing gasket
Install a sealing gasket between the casing and rotor, ensuring that the contact surface between the gasket and the casing and rotor is smooth. Use sealant to fix the gasket and ensure the sealing effect.
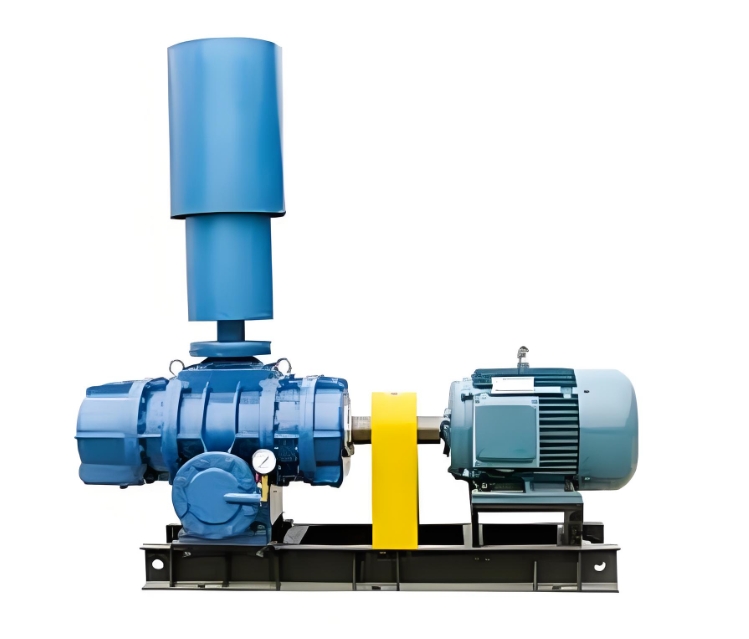
2.6 Installing the motor
Install the motor on the base of the Roots blower, ensuring a secure connection between the motor and the Roots blower. Connect the motor and Roots blower using a coupling to ensure proper alignment of the coupling.
2.7 Checking assembly quality
After assembly, check if all connection parts are secure and if all components are installed in place. Rotate the rotor manually and check if it is running smoothly and if there are any abnormal sounds.
3. Precautions for assembly of Roots blower
When assembling Roots blowers, the following aspects should be noted:
3.1 Ensure cleanliness
During the assembly process, ensure that all components and tools are clean to prevent dust and debris from entering the interior of the Roots blower and affecting its operational efficiency.
3.2 Ensure lubrication
During the assembly process, ensure that all components that require lubrication are adequately lubricated to avoid friction and wear caused by poor lubrication.
3.3 Ensure alignment
When installing the motor and Roots blower, ensure that the coupling is aligned to avoid vibration and noise caused by poor alignment.
3.4 Ensure sealing
When installing the gasket, ensure that the contact surface between the gasket and the casing and rotor is flat to avoid gas leakage caused by poor sealing.
4. Conclusion
The assembly quality of Roots blower directly affects its operating effect and service life. By following the correct assembly steps and precautions, the stable operation of the Roots blower can be ensured and production efficiency can be improved.