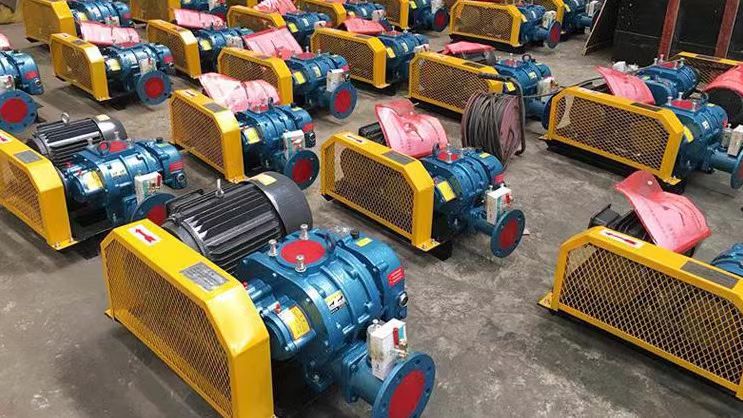
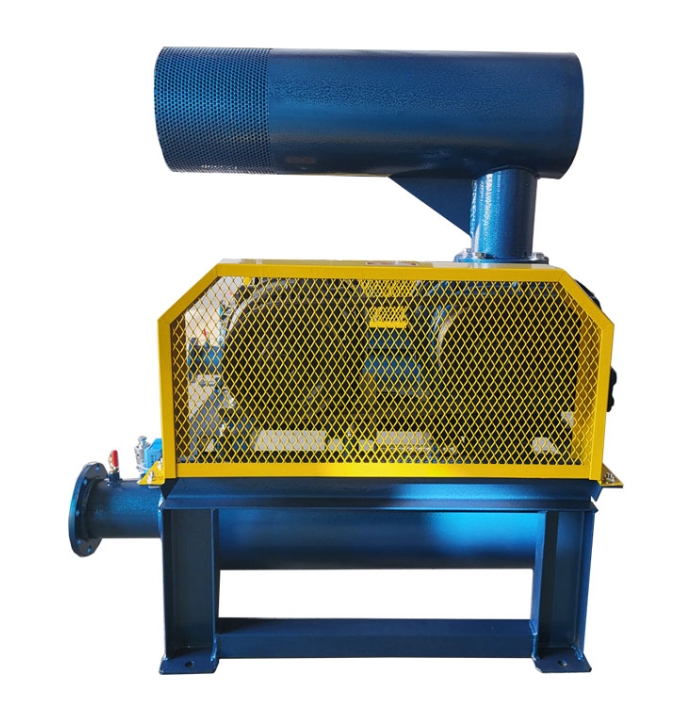
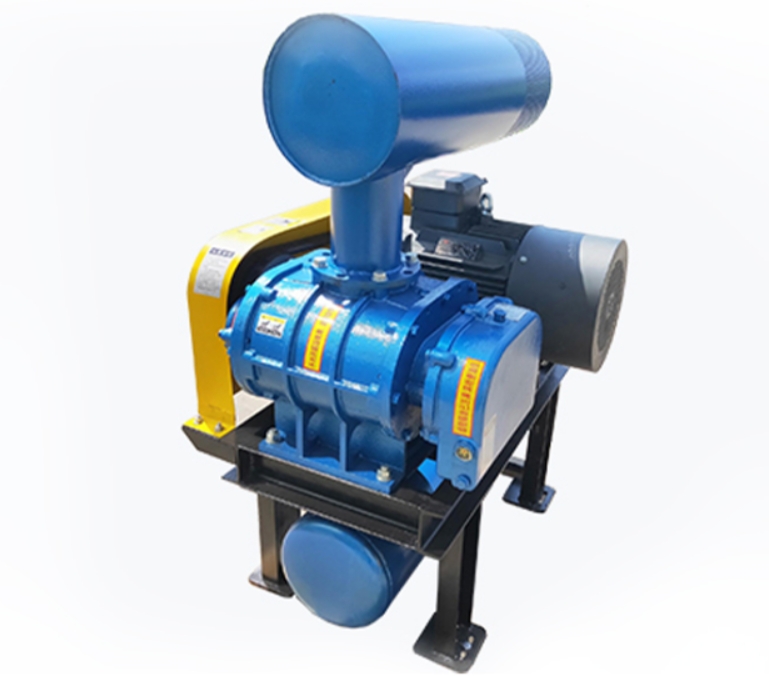
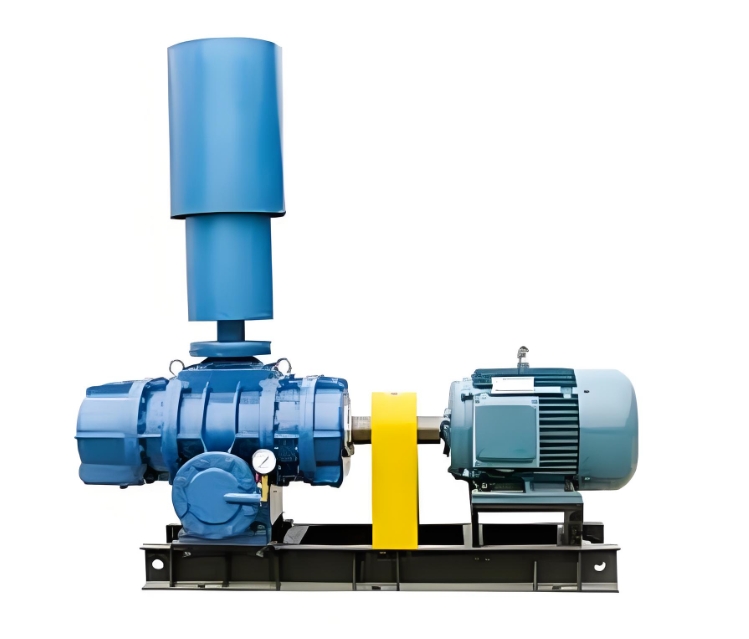
The assembly of Roots blower is a precise process that requires strict adherence to technical specifications to ensure the performance, sealing, and service life of the blower. The following are detailed assembly steps and precautions:
---

**1. Preparation work before assembly**
**(1) Check the components**
-* * Rotor (impeller) * *: Check for burrs, cracks, or deformations to ensure surface smoothness.
-Synchronous gear: Check the wear of the tooth surface, and the meshing clearance should meet the standard (usually 0.1~0.3mm).
-* * Bearing * *: Confirm no damage, flexible rotation, and good lubrication.
-Seal: Check if the labyrinth seal, mechanical seal, or packing seal is intact.
-Shell (cylinder): Check for scratches on the inner wall to ensure even clearance with the rotor.
**(2) Cleaning work**
-Clean all components with kerosene or cleaning agents to remove impurities such as oil stains and iron filings.
-Blow dry with compressed air to prevent contamination during assembly.
**(3) Measure key dimensions**
-The clearance between the rotor and the housing is usually 0.15~0.40mm (depending on the model).
-The meshing clearance between rotors is usually 0.10~0.25mm (measured with a feeler gauge).
-* * Bearing clearance * *: Complies with manufacturer standards (too tight can cause heating, too loose can cause vibration).
---
**2. Main assembly steps**
**(1) Install bearings and gears**
1. * * Bearing installation**
-Adopting the hot installation method (heating the bearing to 80-100 ℃ and then inserting it into the journal) to avoid damage caused by knocking.
-Use specialized tools to press fit and ensure that the bearing is in contact with the shaft shoulder.
2. * * Synchronous gear assembly**
-Install the driving gear first, then the driven gear, and adjust the mesh clearance (using a dial gauge to check).
-Tighten the gear fixing bolts and apply anti loosening glue.
**(2) Install rotor**
1. Install the main rotor into the housing**
-When lifting the rotor, keep it level to avoid collision.
-Adjust the axial clearance between the rotor end face and the housing (usually 0.05-0.15mm).
2. * * Install the driven rotor into the housing**
-Ensure that the phase angle of the two rotors is correct (usually 120 ° misalignment for the three bladed type).
-Check whether the manual turning is flexible and free of jamming.
**(3) Adjust the rotor clearance**
-* * Radial clearance * *: Measure the clearance between the rotor and the inner wall of the housing with a feeler gauge to ensure uniformity around.
-Mesh clearance: Insert a feeler gauge at the meshing position of the two rotors and adjust the gear position to ensure that the clearance meets the standard.
-Axial clearance: Controlled by adjusting the thickness of the bearing seat gasket to prevent axial movement of the rotor.
**(4) Install end caps and seals**
1. * * End cap assembly**
-Tighten the bolts evenly to avoid deformation caused by uneven force (tighten in diagonal order).
-Check the sealing surface between the end cap and the housing, and apply sealant if necessary.
2. * * Sealed installation**
-Maze seal: Ensure that there is no friction between the sealing plate and the shaft.
-Mechanical seal: Adjust the compression amount of the spring to ensure that the end face fits snugly.
-Packing sealing: Tighten the packing ring by ring, with moderate tightness (allowing for slight leakage lubrication).
**(5) Coupling alignment**
-Use laser alignment or a dial gauge to calibrate the coaxiality of the motor and fan (deviation ≤ 0.05mm).
-Avoid vibration and bearing damage caused by radial or angular deviations.
---
**3. Inspection and testing after assembly**
**(1) Manual turning gear**
-Rotate the coupling and check for smoothness, no abnormal friction or noise.
**(2) Leakage testing**
-Apply pressure to the rated pressure and use soapy water to check for any air leaks at the connections such as flanges and end caps.
**(3) Trial operation**
1. * * No load operation * * (30 minutes~1 hour)
-Check if the current, vibration, and temperature rise are normal (bearing temperature ≤ 70 ℃).
-Monitor noise and eliminate rotor collision or gear abnormal noise.
2. * * Load Operation * * (Gradually Boosting)
-Observe whether the pressure and flow rate meet the standards and whether there is any decrease in performance.
---
**4. Common assembly problems and solutions**
|* * Problem * * | * * Possible Cause * * | * * Solution * *|
|------------------------|-----------------------------|--------------------------------|
|* * The rotor is stuck * * | The gap is too small or foreign objects enter | Adjust the gap again and clean the housing|
|* * High vibration * * | Poor alignment or rotor imbalance | Re align and perform dynamic balance correction|
|Bearing overheating | Insufficient lubrication or small clearance | Add lubricating grease and adjust bearing preload force|
|* * Gas leakage * * | Seal damaged or bolts not tightened | Replace seals and tighten bolts evenly|
---
**5. Key precautions**
-Violent assembly is strictly prohibited. Precise components such as rotors and gears should be handled with care.
-Priority of gap control: The rotor gap directly affects the efficiency and lifespan of the fan.
-Lubrication in place: Bearings and gears require the use of designated grade lubricating grease (such as lithium based grease).
-Explosion proof requirements: When transporting flammable gases, all components must comply with explosion-proof standards (such as the gap between explosion-proof joint surfaces).
Proper assembly can significantly improve the reliability and energy efficiency of Roots blowers. It is recommended to have experienced personnel guide or refer to the manufacturer's manual for the first assembly.


