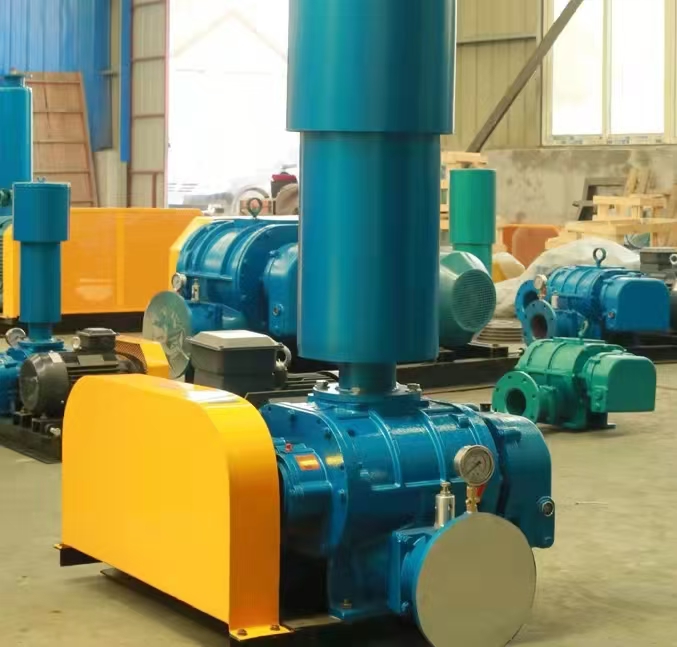
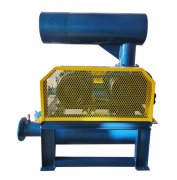
The following is a disassembly diagram and step-by-step instructions for a two blade Roots blower to help you understand its internal structure and disassembly process:
---

**Disassembly diagram of two blade Roots blower (core component annotation)**
```plaintext
___________________________
|Belt pulley/coupling | ← Disassembly steps
|___________________________|
↓
___________________________
|Bearing seat | ← Remove end cap bolts
|___________________________|
↓
___________________________
|Gearbox | ← Open the box cover to expose the gears
|___________________________|
↓
___________________________
|Main/driven rotor (two blades) | ← Mark the phase before extracting the rotor
|___________________________|
↓
___________________________
|Shell | ← Separate upper and lower shells (if any)
|___________________________|
```
---
**Detailed disassembly steps**
**1. prepare
-* * Power off sign * *: Ensure that the motor is powered off and hang a warning sign.
-* * Drain oil * *: Drain the gearbox lubricating oil (ISO VG 220).
-* * Tool Preparation * *:
-Socket wrench (matching bolt size).
-Lamar (dismantling pulley/coupling).
-Copper rod (tap lightly on the rotor shaft end to avoid damage).
**2. Disassemble external components**
-* * Remove the drive components * *:
-Pulley: Loosen the tensioning device and pull out the pulley with a roller.
-Coupling: Remove the connecting bolts and separate the motor from the fan.
-* * Remove the inlet and outlet pipelines * *: Loosen the flange bolts and remove the muffler/filter.
**3. Disassemble the gearbox**
1. * * Remove the gearbox cover * *:
-Loosen the bolts symmetrically to avoid deformation of the box cover.
2. * * Mark gear phase * *:
-Use a marker pen to mark the meshing position of the driving/driven gears (the two blade fan needs to maintain a 90 ° phase difference).
3. * * Disassemble the gear * *:
-Use a gear puller to pull out the gear (be careful to protect the shaft neck).
**4. Remove the rotor**
1. * * Loosen the bearing seat bolt * *:
-First remove the non drive end bearing seat, then remove the drive end.
2. * * Extract the rotor * *:
-Two people cooperate to slowly pull out the rotor horizontally (to avoid blade scratching the shell).
-* * Key Tip * *: Two blade rotors must be removed in pairs and cannot be disassembled separately!
**5. Separate the shell (if necessary)**
-If it is a split shell, loosen the bolts on the split surface and use a top screw to open the upper and lower shells.
---
**Precautions for disassembling key components**
|* * Components * * | * * Precautions * *|
|----------------|-----------------------------------------------------------------------------|
|* * Rotor * * | Check blade wear/cracks and measure radial clearance (standard 0.15~0.25mm)|
|* * Gear * * | Check for pitting and broken teeth on the tooth surface, and the meshing clearance should be ≤ 0.10mm|
|* * Bearing * * | Rotate by hand to confirm if it is stuck. When replacing, it needs to be hot installed (heated to 80-100 ℃)|
|* * Shaft seal * * | Avoid scratching the shaft surface when disassembling the old oil seal/mechanical seal|
---
**Key points for disassembly and assembly**
1. * * Rotor phase alignment * *:
-When installing the two blade rotor, it is necessary to strictly maintain a 90 ° staggered position (which can be reset through gear markings).
2. * * Gap Adjustment * *:
-Use a feeler gauge to calibrate the gap between the rotor, housing, and rotor.
3. Bolt tightening sequence:
-The gearbox cover and bearing seat bolts need to be tightened in diagonal order in stages (refer to torque values).
---
**Common problem handling**
-* * Rotor stuck * *: Soak the corroded area in kerosene and lightly tap the shaft end to loosen it.
-Reverse gear installation: Reset according to the markings, otherwise it may cause the fan to reverse and damage the blades.
-Leakage test: After assembly, an air tightness test (soap water check flange/shaft seal) is required.
---
**Illustration Explanation**
-Phase relationship of two blade rotor:
```plaintext
Active rotor: ||
Driven rotor: - (rotated 90 ° cross)
```
-* * Gear meshing marking * *:
```plaintext
Drive gear: marked with "↑"
Driven gear: marked with "↓" (ensure arrow alignment during meshing)
```
---
**Professional advice**
-Do not disassemble unless necessary: Roots blowers have high precision, and inexperienced individuals are prone to damage the mating surfaces.
-Pre inspection of spare parts: Prepare vulnerable parts such as seals and bearings in advance (refer to the nameplate for the model).
-* * Manufacturer's guidance * *: For the first disassembly, it is recommended to contact the supplier to provide assembly drawings (such as Shandong, etc.).
If you need a disassembly diagram for a specific model, please provide the fan brand and parameters (such as L22WD, GRB-50).


