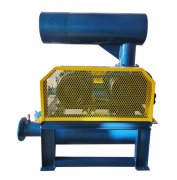
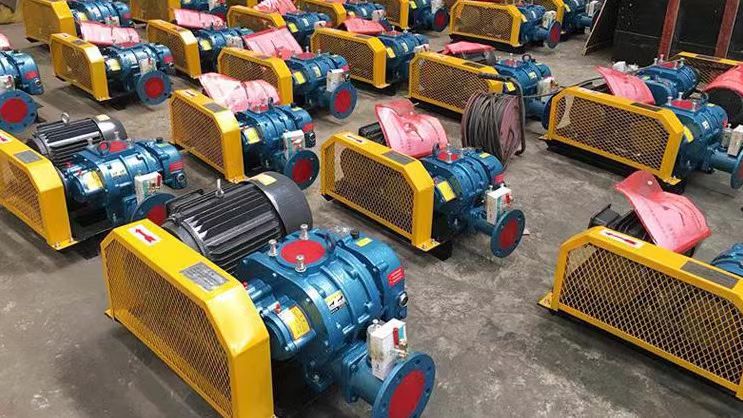
The following is a graphical explanation of the disassembly steps for a two blade Roots fan (actual images cannot be provided due to text limitations, but key steps and precautions will be described in detail, and a schematic diagram will be attached). It is recommended to operate in conjunction with the equipment manual and seek professional guidance if necessary.
---
**1、 Preparation before disassembly**
1. * * Tool List * *:
-Wrench (socket, plum blossom), puller, hydraulic wheel puller.
-Copper rod, rubber hammer, feeler gauge, dial gauge.
-Cleaning agents, lubricating grease, sealant.
2. * * Measures * *:
-Power off, release pressure, and vent pipeline gas.
-Mark all connecting components (such as gears, couplings, pipelines).
---
**2、 Schematic explanation of disassembly steps**
**1. Remove external attachments**
```plaintext
[Diagram]
Machine casing → Coupling/pulley → Inlet and outlet flange bolts → Muffler/filter
```
-Disconnect the coupling or pulley and remove the protective cover.
-Loosen the flange bolts of the inlet and outlet, and move the pipeline away.
**2. Dismantle the gearbox (synchronous gear)**
```plaintext
[Diagram]
Gearbox cover bolt → gear locating pin → gear locking nut → gear
```
-Remove the gearbox cover bolts and check the gear mesh markings (if there are no markings, they need to be marked by yourself).
-Use a puller to pull out the gear (pay attention to protecting the shaft end thread).
**3. Separate the casing**
```plaintext
[Diagram]
Shell bolts → locating pins → upper shell lifting
```
-Remove the split bolts from the casing and use a top screw to open the upper and lower casings.
-Lift the upper casing (to avoid damaging the sealing surface).
**4. Remove the impeller**
```plaintext
[Diagram]
Impeller bearing seat bolt → bearing cover → impeller+shaft assembly
```
-Remove the bearing seat bolts and gently tap the shaft end with a copper rod to remove the impeller (including the bearing).
-Attention: The impeller is heavy and requires cooperation between two people to avoid collision.
**5. Dismantling bearings**
```plaintext
[Diagram]
Bearing locking nut → Hydraulic wheel puller → Bearing cleaning and inspection
```
-Use a wheel puller to remove the bearing and check for wear.
-Record the bearing model (pairing is required when replacing).
---
**3、 Schematic diagram of key components**
1. Clearance between impeller and casing:
```plaintext
|--Radial clearance -- | | -- clearance between impellers--|
┌───────┐ ┌───────┐
│ Impeller │← 0.2mm → │ Impeller │
└───────┘ └───────┘
```
2. * * Gear meshing marking * *:
```plaintext
Drive gear (marked A) ← → Driven gear (marked A ')
```
---
**4、 Precautions**
1. * * Synchronous gear * *: The gear position must be marked before disassembly, otherwise the impeller will interfere after reinstallation.
2. * * Sealing surface * *: The split surface of the casing should not be pried by a screwdriver to avoid scratches.
3. * * Bearing direction * *: Attention should be paid to the installation direction of angular contact bearings (back-to-back or face-to-face).
4. O-ring/gasket: It is recommended to replace it with a new one after removal.
---
**5、 Assembly points**
1. Assemble in reverse order, with a focus on checking:
-Impeller clearance (measured with a feeler gauge).
-Align the gear meshing marks.
-Bolt torque (tighten in stages according to manual requirements).
2. Before trial operation, manually turn the wheel to confirm that there are no blockages.
---
**6、 Common Error Examples**
-Error 1: unmarked gear → impeller collision.
**Solution: Re align the teeth (by adjusting the position of the gear keyway).
-* * Error 2 * *: Excessive sealant on the casing → Blockage of the air duct.
**Solution: Apply a thin layer of sealant evenly after cleaning.
---
If you need a disassembly manual or drawing for a specific model, please provide the fan brand and model for further assistance!