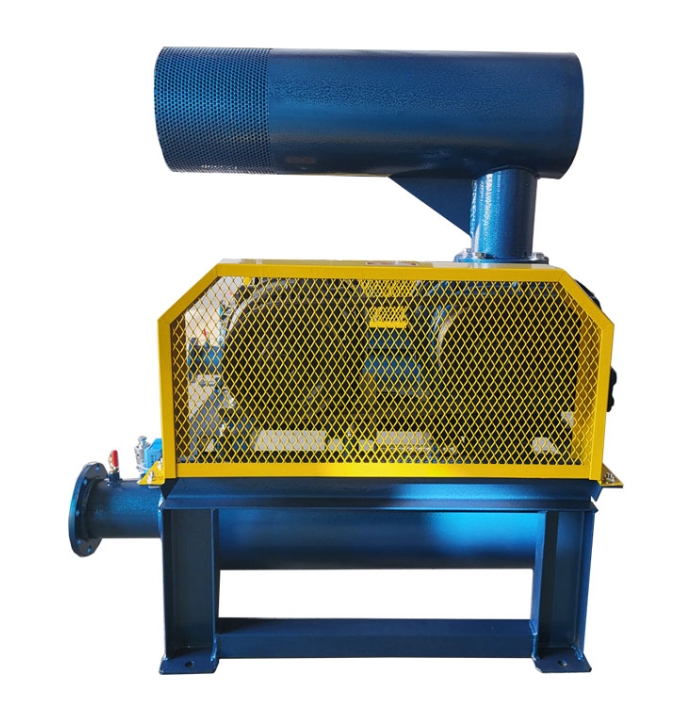


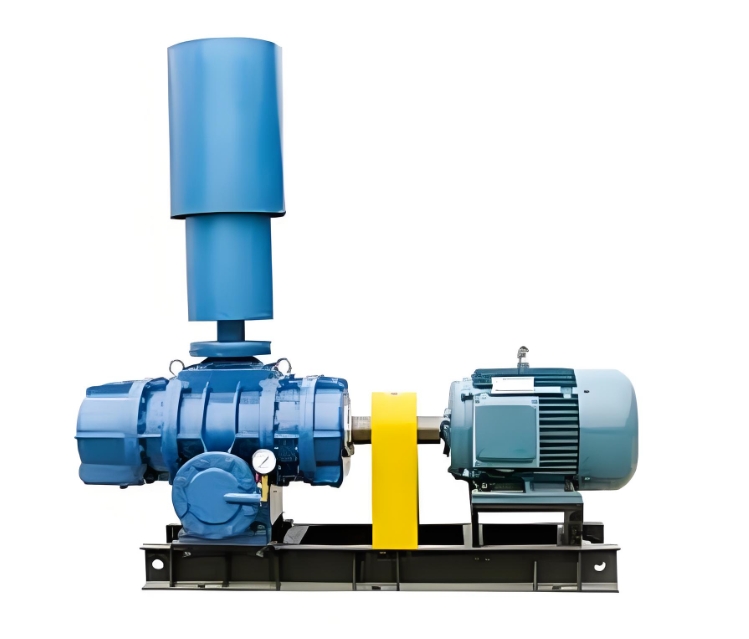
Maintenance, disassembly, and installation steps for Roots blower
introduction
During long-term operation, the Roots blower requires regular maintenance, disassembly, and installation to ensure its normal operation. Mastering the correct maintenance, disassembly, and installation steps is crucial for improving maintenance efficiency and ensuring fan performance. This article will provide a detailed introduction to the maintenance, disassembly, and installation steps of Roots blowers, to help users better carry out maintenance work.
1. Preparation before maintenance
**Measure * *: Before maintenance, ensure that the fan has stopped running and disconnect the power supply. Wear protective gloves and goggles to prevent accidents during maintenance.
**Tool preparation: Prepare the necessary tools for maintenance, such as wrenches, screwdrivers, feeler gauges, belt tensiometers, etc.
**Material preparation: Prepare the necessary materials for maintenance, such as lubricating oil, belts, bearings, seals, etc.
2. Disassembly steps
**Step 1: Disassemble the casing * *: Use a wrench and screwdriver to disassemble the casing of the fan, exposing the rotor and bearings inside.
**Step 2: Disassemble the rotor * *: Use a puller to disassemble the rotor, paying attention to preserving the installation position of the rotor and bearings.
**Step 3: Disassemble the bearing * *: Use a bearing extractor to disassemble the bearing, paying attention to preserving the bearing and seals.
3. Inspection and repair
**Check the rotor * *: Check the wear of the rotor, and if there is any wear, repair or replace it in a timely manner.
**Check the bearing * *: Check the wear of the bearing, and replace it in a timely manner if there is any wear.
**Check the seal * *: Check the wear of the seal, and replace it in a timely manner if there is any wear.
4. Installation steps
**Step 1: Install bearings * *: Use bearing installation tools to install the bearings and ensure that they are installed in place.
**Step 2: Install the rotor * *: Use a puller to install the rotor and ensure that it is installed in place.
**Step 3: Install the casing * *: Use a wrench and screwdriver to install the casing, ensuring that it is securely installed.
5. Trial operation
**Step 1: Check Installation * *: After reassembling, check if all components are installed correctly to ensure there are no omissions or errors.
**Step 2: Trial operation * *: Start the fan and observe its operation to ensure that there are no abnormal noises or vibrations.
6. Conclusion
Mastering the maintenance, disassembly, and installation steps of Roots blowers is crucial for improving maintenance efficiency and ensuring fan performance. By understanding the maintenance, disassembly, and installation steps, users can better carry out maintenance work and extend the service life of the machine.