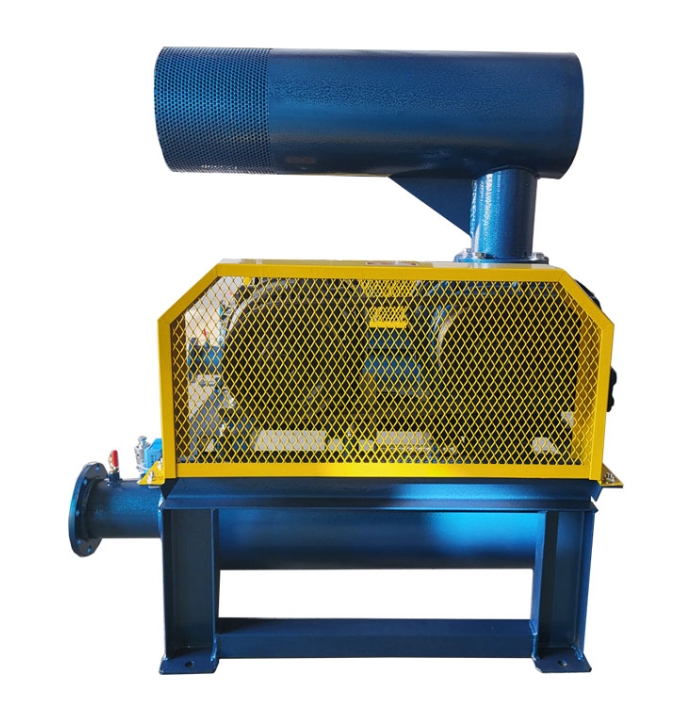


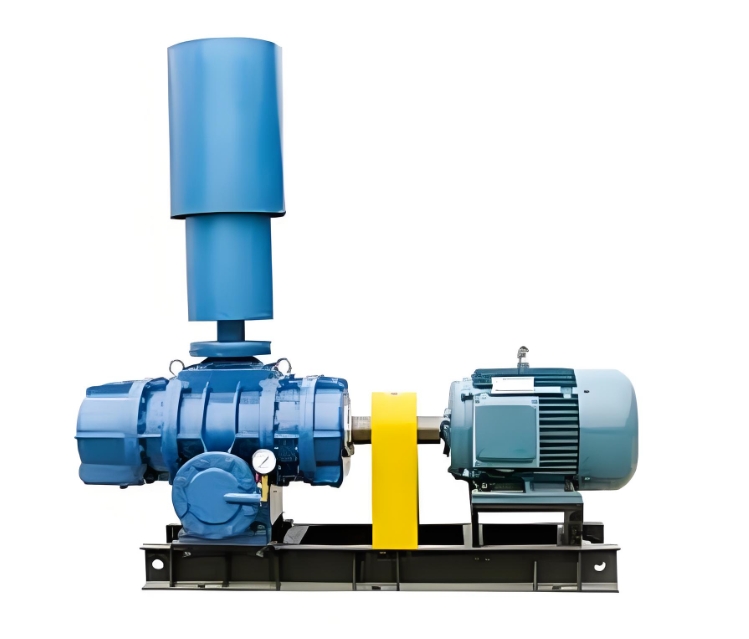
**Roots blower reinstallation steps (detailed guide)**
The reinstallation process of Roots blower directly affects the operational performance, noise and service life of the equipment. It must be strictly operated in accordance with the specifications to ensure that the clearances, gear meshing and sealing of each component meet the requirements. The following are the systematic reinstallation steps and key precautions.
---
**1、 Preparation work before reinstallation**
1. * * Cleaning and Inspection**
-Clean all components (rotor, gear, bearing seat, housing, etc.) with kerosene or cleaning agent to ensure no oil stains, rust or impurities.
-Check the wear and tear of the components:
-* * Rotor * *: No scratches or deformations, uniform clearance between impellers.
-* * Gear * *: The tooth surface has no pitting or cracks, and the meshing marks are clear.
-* * Bearing * *: Flexible rotation, no noise or excessive clearance.
-Sealing components: Replace all O-rings, mechanical seals, or oil seals (to avoid repeated use).
2. * * Tools and consumables**
-Tools: torque wrench, feeler gauge (0.02~1.00mm), dial gauge, copper rod, rubber hammer, puller.
-Consumables: High temperature lubricating grease (such as lithium based grease), sealant (such as Loctite 587), rust inhibitor.
3. * * Check the markings**
-Refer to the markings during disassembly (gear alignment, end cover direction, etc.) to ensure that the components are reinstalled in their original positions.
---
**2、 Core reinstallation steps**
**1. Install bearings and seals**
-Heat the new bearing to * * 80-100 ℃ * * (oil bath or induction heating) and quickly press it onto the shaft (do not directly tap the inner ring of the bearing).
-Install oil seal or mechanical seal, apply lubricating grease to protect the lip (note direction: the sealing lip faces the oil side).
**2. Reinstall the rotor**
-Pre installation of single rotor:
1. Gently push the active rotor (connected to the gear side) into the cylinder, ensuring that the shaft passes through the bearing seat.
2. Use a dial gauge to detect the radial runout of the rotor (usually ≤ 0.05mm).
-Double rotor alignment:
1. Place the driven rotor into the cylinder, manually rotate the active rotor, and observe the meshing of the two rotors.
2. Use a feeler gauge to check the clearance between the rotors (standard value refers to the manufacturer's manual, usually 0.10~0.25mm).
**3. Install synchronous gear**
-* * Key steps * *:
1. Align the driving gear and the driven gear according to the original markings (the keyway or pin hole positions recorded during disassembly).
2. Use a torque wrench to tighten the gear fixing bolts (e.g. 40~50N · m for M12 bolts).
3. Manually rotate and check for gear meshing noise (there should be no abnormal friction sound).
**4. Assemble the end cap and shell**
-Apply sealant (such as Loctite 587) evenly on the sealing surface of the end cap to avoid leakage.
-Symmetrically tighten the end cap bolts (cross tighten multiple times to prevent deformation caused by uneven force).
-Recheck the gap between the rotor and the end cover using a feeler gauge (usually 0.15~0.30mm).
**5. Installation accessories and alignment**
-Reinstall the gearbox cover, coupling/pulley, muffler, and inlet/outlet pipelines.
-* * Centering adjustment * * (during coupling transmission):
-Radial deviation ≤ 0.05mm, axial angular deviation ≤ 0.02mm/m.
-Belt tension adjustment (during belt transmission):
-Press the middle of the belt with your fingers, and the optimal amount of sagging is about 5-10mm.
---
**3、 Commissioning and acceptance after reassembly**
1. * * Manual testing**
-Manually turn the rotor 2-3 times and confirm that there is no jamming or abnormal noise from the gears.
2. * * No load trial operation**
-Start with a jog (immediately turn off after momentary power on), observe if the steering is correct (arrow marked direction).
-After the official launch, run for 10 minutes and check:
-Vibration value: ≤ 4.5mm/s (tested with a vibration meter).
-Bearing temperature: ≤ 70 ℃ (infrared thermometer).
-* * Noise * *: No sharp metal friction sound (normal is uniform airflow sound).
3. * * Load operation**
-Gradually close the exhaust valve to increase the voltage and monitor whether the current exceeds the set value.
-Check whether the pipeline leaks and whether the pressure reading is stable.
---
**4、 Common Problems and Solutions**
|* * Problem * * | * * Possible Cause * * | * * Solution * *|
|------------------------|----------------------------|--------------------------------|
|Large vibration after startup | rotor imbalance/poor alignment | recalibrate dynamic balance or coupling alignment|
|Gearbox abnormal noise | Excessive gear mesh clearance | Adjust gear backlash or replace worn gears|
|Insufficient exhaust pressure | Excessive rotor clearance/Pipeline leakage | Adjust clearance or tighten sealing surface|
|Bearing overheating | Insufficient lubrication or installation too tight | Add lubricating grease/reinstall bearing|
---
**5、 Key precautions**
1. Clearance control: The clearance between rotors and between rotors and the casing is the core of the fan's lifespan and must be strictly adjusted according to the manual.
2. Lubrication Management: Add ISO VG220 lubricating oil to the gearbox, and regularly replenish the bearing grease for lubrication.
3. * * Do not reverse * *: Reversing the Roots blower can cause damage to the impeller due to collision, and the direction must be confirmed before starting for the first time!
By following the above steps, it can be ensured that the Paultz fan runs stably after reinstallation. If you need specific torque parameters or clearance standards for a particular model, you can provide further assistance from the fan brand!