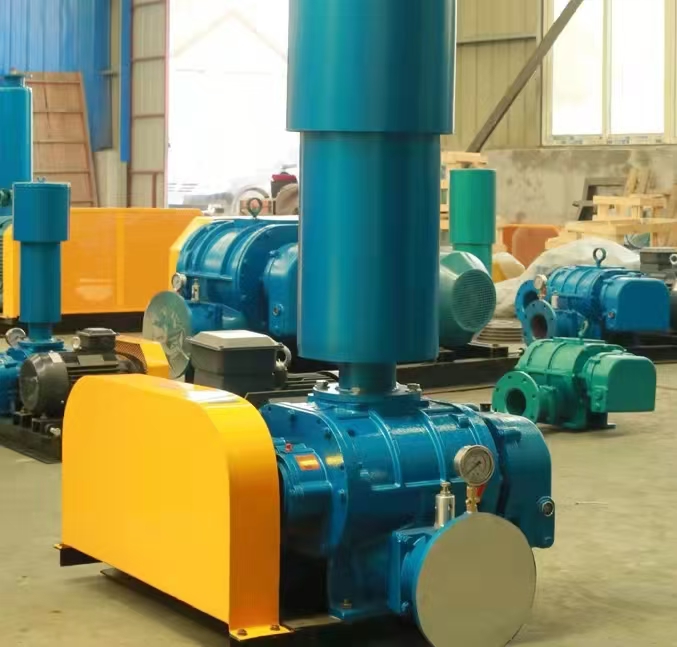
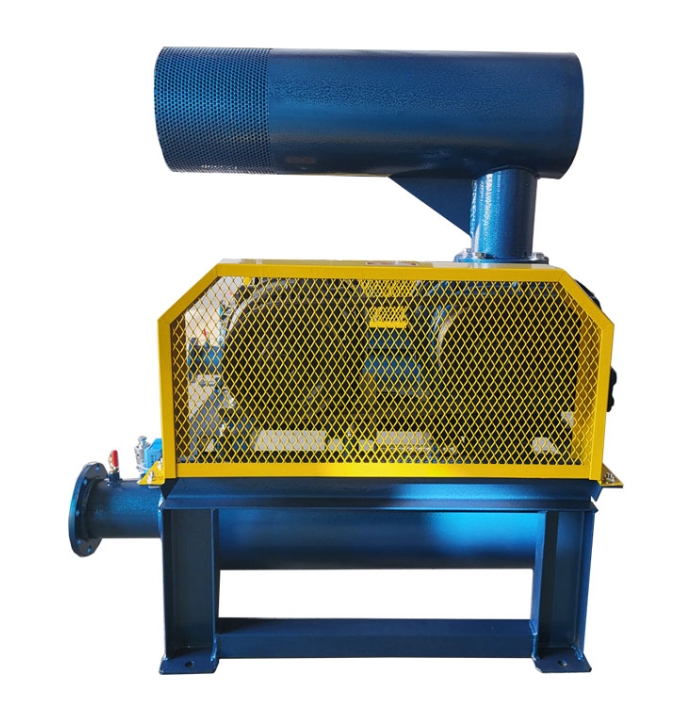
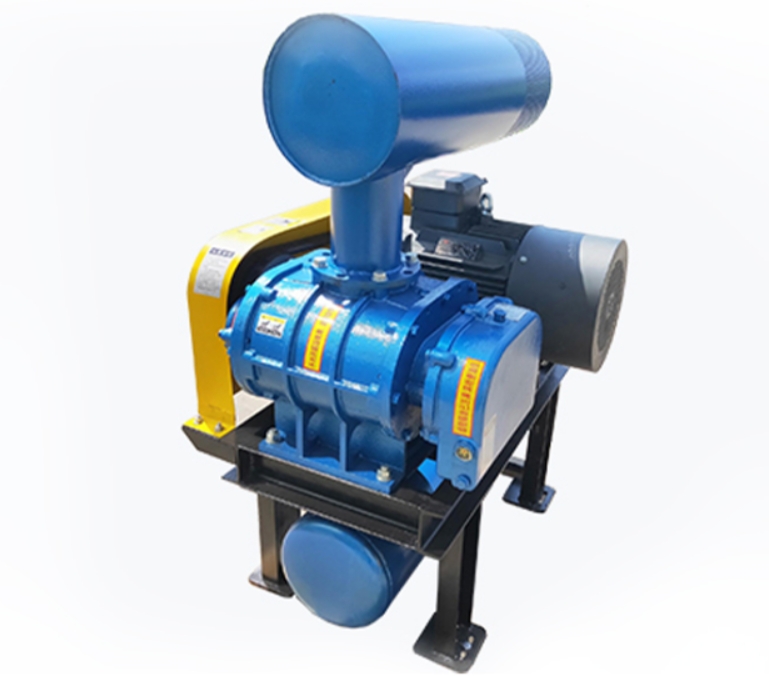
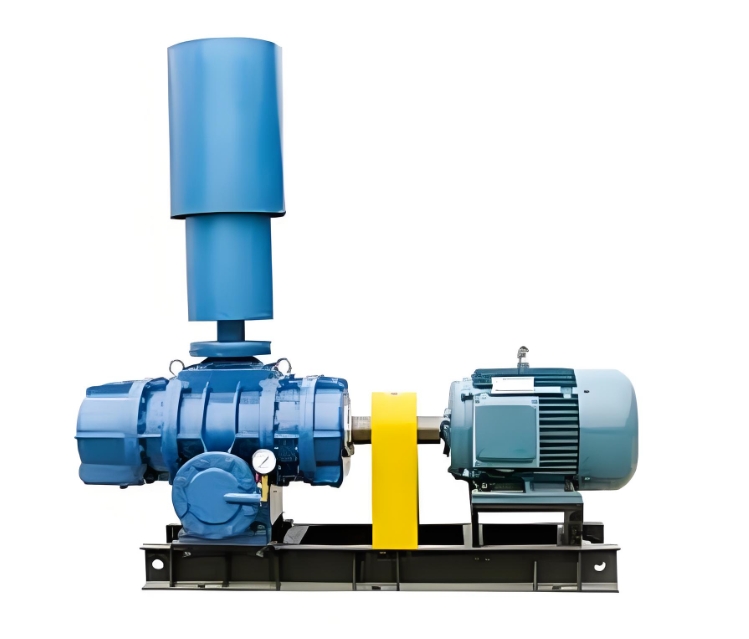
The following are the detailed steps and precautions for replacing and repairing the bearings of a two blade Roots blower, covering the entire process of disassembly, inspection, installation, and commissioning to ensure standardized operation:
---

**1、 Preparation work**
1. * * Tools and Materials * *:
-Tools: Lamar (hydraulic wheel puller), copper rod, rubber hammer, torque wrench, feeler gauge, dial gauge, vernier caliper.
-Consumables: New bearings (consistent with prototype number), lubricating grease (such as lithium grease), sealant, cleaning agent (kerosene or acetone).
-* * Protection * *: gloves, goggles, lifting equipment (heavy impellers need to be lifted).
2. * * Shutdown and Isolation * *:
-Cut off the power and lock (LOTO), close the inlet and outlet valves, and release the pipeline pressure.
-Drain the gearbox lubricating oil (if any).
---
**2、 Bearing replacement steps**
**1. Disassemble the fan components**
1. * * Remove the coupling/pulley * *:
-Loosen the coupling bolts or belt tensioning device and mark the alignment position.
2. * * Separate gearbox * *:
-Remove the bolts from the gearbox cover, check and record the gear mesh markings (if there are no markings, they need to be marked by yourself).
-Use a puller to pull out the gear (protect the shaft end thread).
3. * * Lift off the casing * *:
-Remove the split bolts, open the upper and lower casings, and lift off the upper casing (to avoid damaging the sealing surface).
4. * * Remove the impeller assembly * *:
-Remove the bearing seat bolts, lightly tap the shaft end with a copper rod, and remove the impeller shaft connection (requires two people to cooperate).
**2. Dismantling of old bearings**
1. * * Remove the bearing locking component * *:
-Remove the bearing cover, locking nut, or retaining spring.
2. * * Pulling bearings * *:
-Use a puller to evenly apply force and pull out the bearing (do not directly tap the bearing ring).
-Attention: If the bearing is too tight, the bearing seat can be heated (≤ 120 ℃) to assist in disassembly.
**3. Cleaning and Inspection**
1. * * Cleaning components * *:
-Clean the shaft neck and bearing seat with kerosene to remove old grease and impurities.
2. * * Check for damage * *:
-* * Journal * *: Measure wear (wear>0.05mm requires repair or coating).
-* * Bearing seat * *: Check the roundness (with a dial gauge, deviation ≤ 0.02mm).
-Impeller: Check the dynamic balance (if there is no vibration, it can be temporarily left untreated).
**4. Installation of new bearings**
1. * * Bearing pretreatment * *:
-Use cleaning agent to remove rust proof oil from the new bearing, and fill it with lubricating grease (occupying 1/3~1/2 of the inner cavity).
2. * * Cold packing method * *:
-Insert the bearing onto the journal and evenly tap the inner ring with a copper rod until it is in place.
-* * or hot pack method * * (recommended):
-Heat the bearing to 80-100 ℃ (oil bath or induction heating) and quickly insert it into the shaft neck.
3. Positioning and fastening:
-Install the locking nut/retaining spring with torque according to the manual requirements (e.g. M20 nut requires 150-200N · m).
-Install the bearing cover to ensure axial clearance (0.05-0.15mm, adjusted with a feeler gauge).
**5. Reinstall and debug**
1. * * Impeller reset * *:
-Install the impeller assembly back into the casing and manually rotate to confirm there is no friction.
2. * * Gear Alignment * *:
-Reinstall the gear according to the original mark and check the meshing clearance (tooth side clearance of 0.10~0.20mm).
3. * * Restore the chassis and accessories * *:
-Apply a thin layer of sealant to the sealing surface and tighten the split bolts diagonally.
4. Lubrication and Trial Operation:
-Add gear oil to the oil mark and manually turn the wheel 3-5 times.
-Perform a jog test to check for steering, vibration (≤ 4.5mm/s), and abnormal noise.
-After running the load for 1 hour, tighten the bolts again and recheck the bearing temperature (≤ 75 ℃).
---
**3、 Key precautions**
1. * * Bearing model matching * *:
-Original bearings of the same model (such as SKF 6316/C3) must be used to avoid mixing.
2. * * Gap Control * *:
-Excessive axial clearance can cause impeller movement, while insufficient clearance can cause overheating and jamming.
3. * * Lubricating grease selection * *:
-Choose molybdenum disulfide grease for high temperature conditions and waterproof grease for humid environments.
4. * * Prohibited operations * *:
-Directly tapping the outer ring of the bearing or overheating (>120 ℃ will cause annealing).
---
**4、 Common faults and solutions**
|* * Fault Symptoms * * | * * Possible Causes * * | * * Solutions * *|
|--------------------|--------------------------|----------------------------------|
|Bearing overheating | Insufficient lubrication or small clearance | Add grease or readjust clearance|
|Abnormal noise | Bearing damage or gear misalignment | Replace bearings/realign teeth|
|Excessive vibration | Unbalanced impeller or worn bearings | Perform dynamic balancing/replace bearings|
---
**5、 Maintenance suggestions**
-* * Regular inspection * *: Check the bearing temperature and noise every 3 months.
-Lubrication cycle: Add lubricating grease every 2000 hours of operation.
-* * Spare parts reserve * *: Keep one set of bearings and seals on hand to avoid downtime delays.
---
If you need more specific bearing disassembly diagrams or torque parameters, you can provide fan brand and model for further matching!


