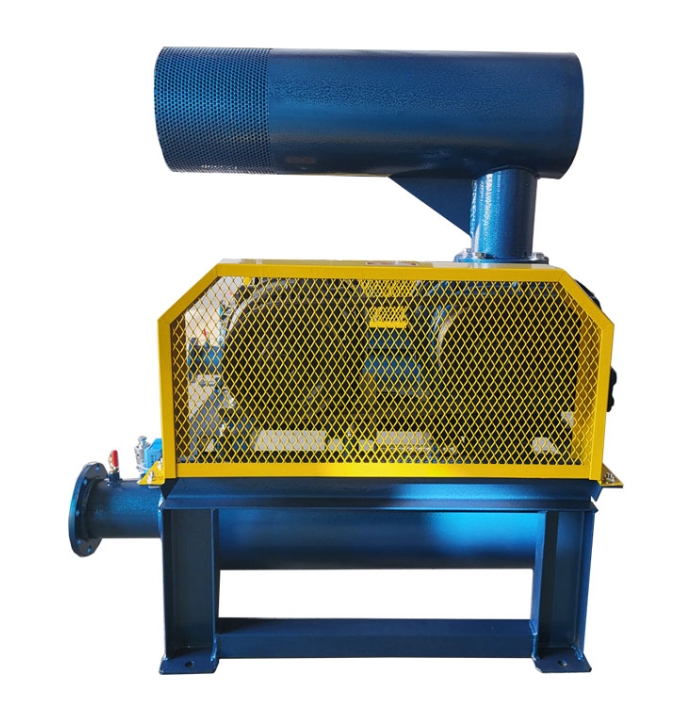


The maintenance and disassembly steps of Roots blower usually include the following key links:
Disassembly steps
1. Disconnect power supply: Ensure that the Roots blower has stopped running and disconnect the power supply to ensure operation.
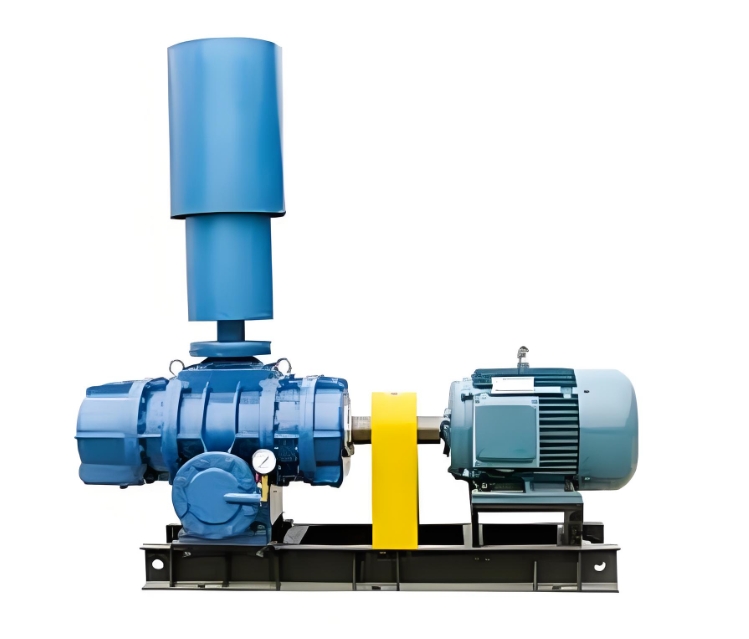
2. Remove attachments: Remove all attachments from the fan unit, such as filters, pulleys (or couplings), etc.
3. Drain lubricating oil: Drain the lubricating oil from the gearbox for subsequent disassembly work.
4. Dismantling transmission components:
Remove the pulley (or coupling) and check the elastic ring or V-belt.
Remove the gearbox and adjustment screws, loosen the gear lock nut to facilitate the removal of the gear.
5. Dismantling the casing:
Remove the positioning pins on the side panels of the casing.
Remove the locking nut of the drive bearing and push out the impeller together with the side plate on the oil tank side from the drive end.
6. Disassemble internal components:
Carefully separate the impeller from the side plate of the fuel tank.
Carefully remove the bearings and oil seals from the side panels using appropriate tools.
7. Cleaning and Inspection: After disassembly, promptly clean and inspect all components to ensure that there are no debris or damage.
Assembly steps
1. Install wall panel: Install the wall panel on the drive side onto the casing.
2. Install impeller: Install the impeller into the casing from the gear end.
3. Install the other side wall panel: Install the gear end wall panel on the casing, paying attention to the total axial clearance. If it is not enough, a casing sealing gasket can be selected.
4. Assembling bearings and sealing bushings:
Assemble the sealing liner (with piston ring) and bearing seat.
Assemble the front and rear bearings, and use the front bearing seat gasket to control the distribution of axial clearance.
5. Install gears: Apply molybdenum disulfide appropriately on the side of the key (oil is not allowed on the gear mating cone surface), adjust the clearances between the impellers using the driven teeth, and then lock and prevent loosening with a locking nut.
6. Installation accessories: Assemble the auxiliary oil tank, install the pulley (or coupling) and other accessories.
7. Gap adjustment: The key to assembling Roots blowers is to ensure that their working clearances are within the specified range, including clearances between impellers and casings, impellers and wall panels, and impellers and impellers.
precautions
1. Marking of matching parts: All connecting and fitting parts must be marked with matching marks, especially gears, for subsequent reassembly.
2. Avoid damaging components: During disassembly and assembly, be careful to avoid damaging components, especially mating surfaces.
3. Measurement of gasket thickness: All gaskets should be measured for thickness during disassembly, and gaskets of the same thickness and material should be used during reassembly.
4. Cleaning and lubrication: Bearings should be cleaned first before applying lubricating oil. When installing bearings, tools, hands, etc. should be cleaned thoroughly. Remove the dust from the mating area and apply oil.
5. Adhere to operating procedures: During the maintenance process, strictly follow the operating procedures to ensure personal and equipment safety.