

The internal structure and disassembly steps of Roots blower are as follows:
internal structure
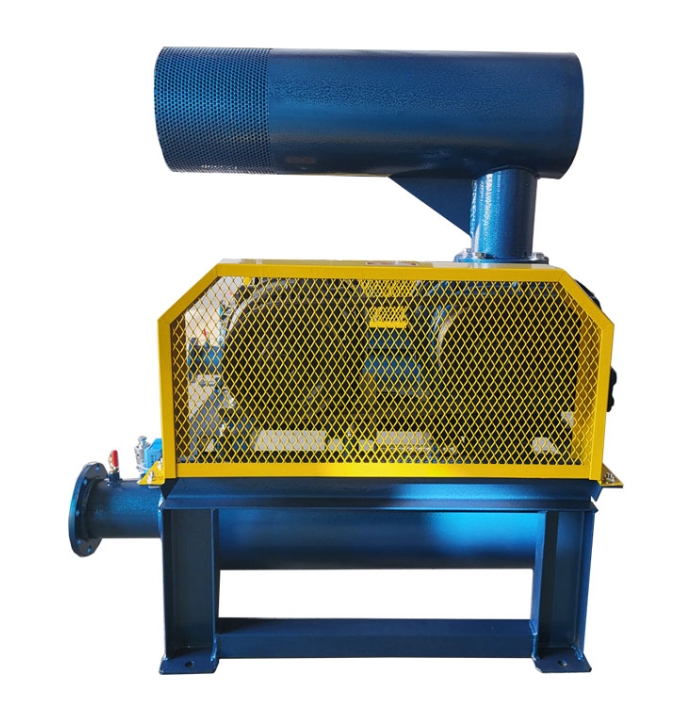
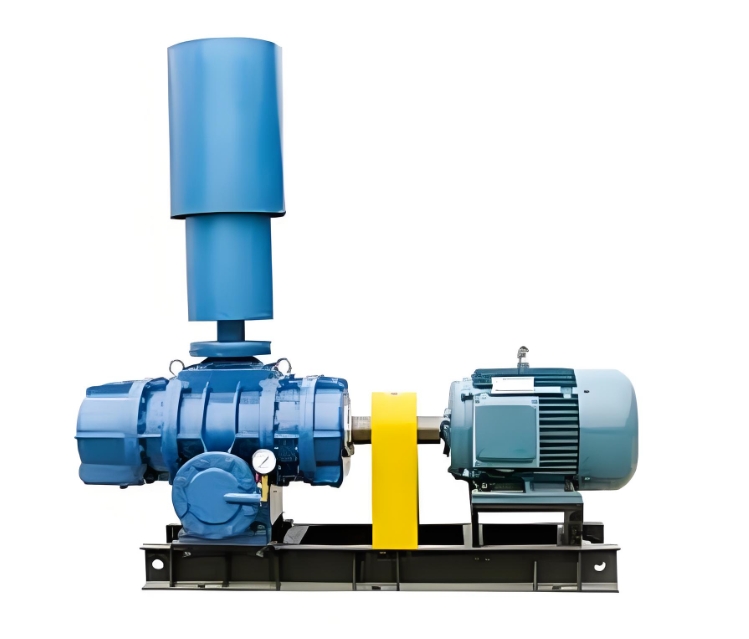
The Roots blower mainly consists of the following parts:
1. Chassis: mainly plays a supporting and fixing role.
2. Wall panel: used to connect the casing and impeller, support the rotation of the impeller, and provide end face sealing effect.
3. Impeller: It is the rotating part of a Roots blower, usually divided into two blades and three blades. Three bladed impellers have gradually replaced two bladed impellers due to their advantages of smaller air flow pulsation, lower noise, and smoother operation.
4. Oil tank: used to store lubricating oil for lubricating gears and bearings.
5. Muffler: Used to reduce the noise generated by airflow pulsation during the inlet and outlet of Roots blower.
Disassembly and assembly steps
Disassembly steps
1. Disconnect power: Ensure operation.
2. Disassemble attachments: Remove the bolts or pins connected to the motor, remove the drive belt, and separate the motor from the fan.
3. Disassemble the pipeline: Remove the bolts at the connection between the inlet and outlet pipelines, and separate the inlet and outlet pipelines from the Roots blower.
4. Dismantling the casing: Usually, the upper casing is removed first, and then the internal components are gradually disassembled.
5. Remove internal components: Carefully remove internal components such as impellers and gears, pay attention to cleaning work, and avoid damaging the components.
6. Cleaning and Inspection: After disassembly, promptly clean and inspect all components to ensure that there are no debris or damage.
Assembly steps
1. Install wall panel: Install the wall panel on the drive side onto the casing.
2. Install impeller: Install the impeller into the casing from the gear end.
3. Install the other side wall panel: Install the gear end wall panel on the casing, paying attention to adjusting the total axial clearance.
4. Assembly of bearings and sealing bushings: Clean the bearings and sealing bushings, apply lubricating oil before assembly.
5. Install gears: Apply lubricant appropriately on the side of the key, adjust the gap between the impellers, and lock and prevent loosening with a locking nut.
6. Installation accessories: Assemble the auxiliary oil tank, pulley (or coupling), and other accessories.
7. Gap adjustment: Ensure that the gaps between the impeller and the casing, impeller and wall panel, and impeller to impeller are within the specified range.
precautions
1. Marking of matching parts: During the disassembly process, engrave matching marks on all connecting and fitting parts for subsequent reassembly.
2. Avoid damaging components: Handle with care to avoid damaging components, especially mating surfaces.
3. Measure gasket thickness: Measure the thickness of all gaskets during disassembly, and use gaskets of the same thickness and material during reassembly.
4. Cleaning and lubrication: Before assembly, ensure that all components are clean and coated with appropriate lubricating oil.
5. Adhere to operating procedures: During the maintenance process, strictly follow the operating procedures to ensure personal and equipment safety.